hexo+next博客平台搭建
hexo+next博客平台的搭建,并部署在私有服务器上
1.环境装备
安装git
注册GitHub或者其他仓库
安装nodejs
推荐使用maven去管理,详见 利用maven来构建node项目的运行环境
服务器(可选,也可部署在GitHub的page上)
2.安装hexo
登录GitHub,fork一份hexo-starter
将自己fork后的clone一份到本地
进入本地目录,打开cmd
1
2
3
4
5
6
7
8
9
10
11
12
13使用node安装hexo所需要的依赖
λ npm install
npm WARN deprecated source-map-resolve@0.6.0: See https://github.com/lydell/source-map-resolve#deprecated
npm WARN deprecated cuid@2.1.8: Cuid and other k-sortable and non-cryptographic ids (Ulid, ObjectId, KSUID, all UUIDs) are all insecure. Use @paralleldrive/cuid2 instead.
added 239 packages, and audited 240 packages in 1m
22 packages are looking for funding
run `npm fund` for details
found 0 vulnerabilities
--如果提示npm命令不存在,检查一下 nodejs有没有加到环境变量中启动本地hexo服务
1
2
3
4
5
E:\git-code\hexo-starter (master -> origin)
λ hexo s
INFO Validating config
INFO Start processing
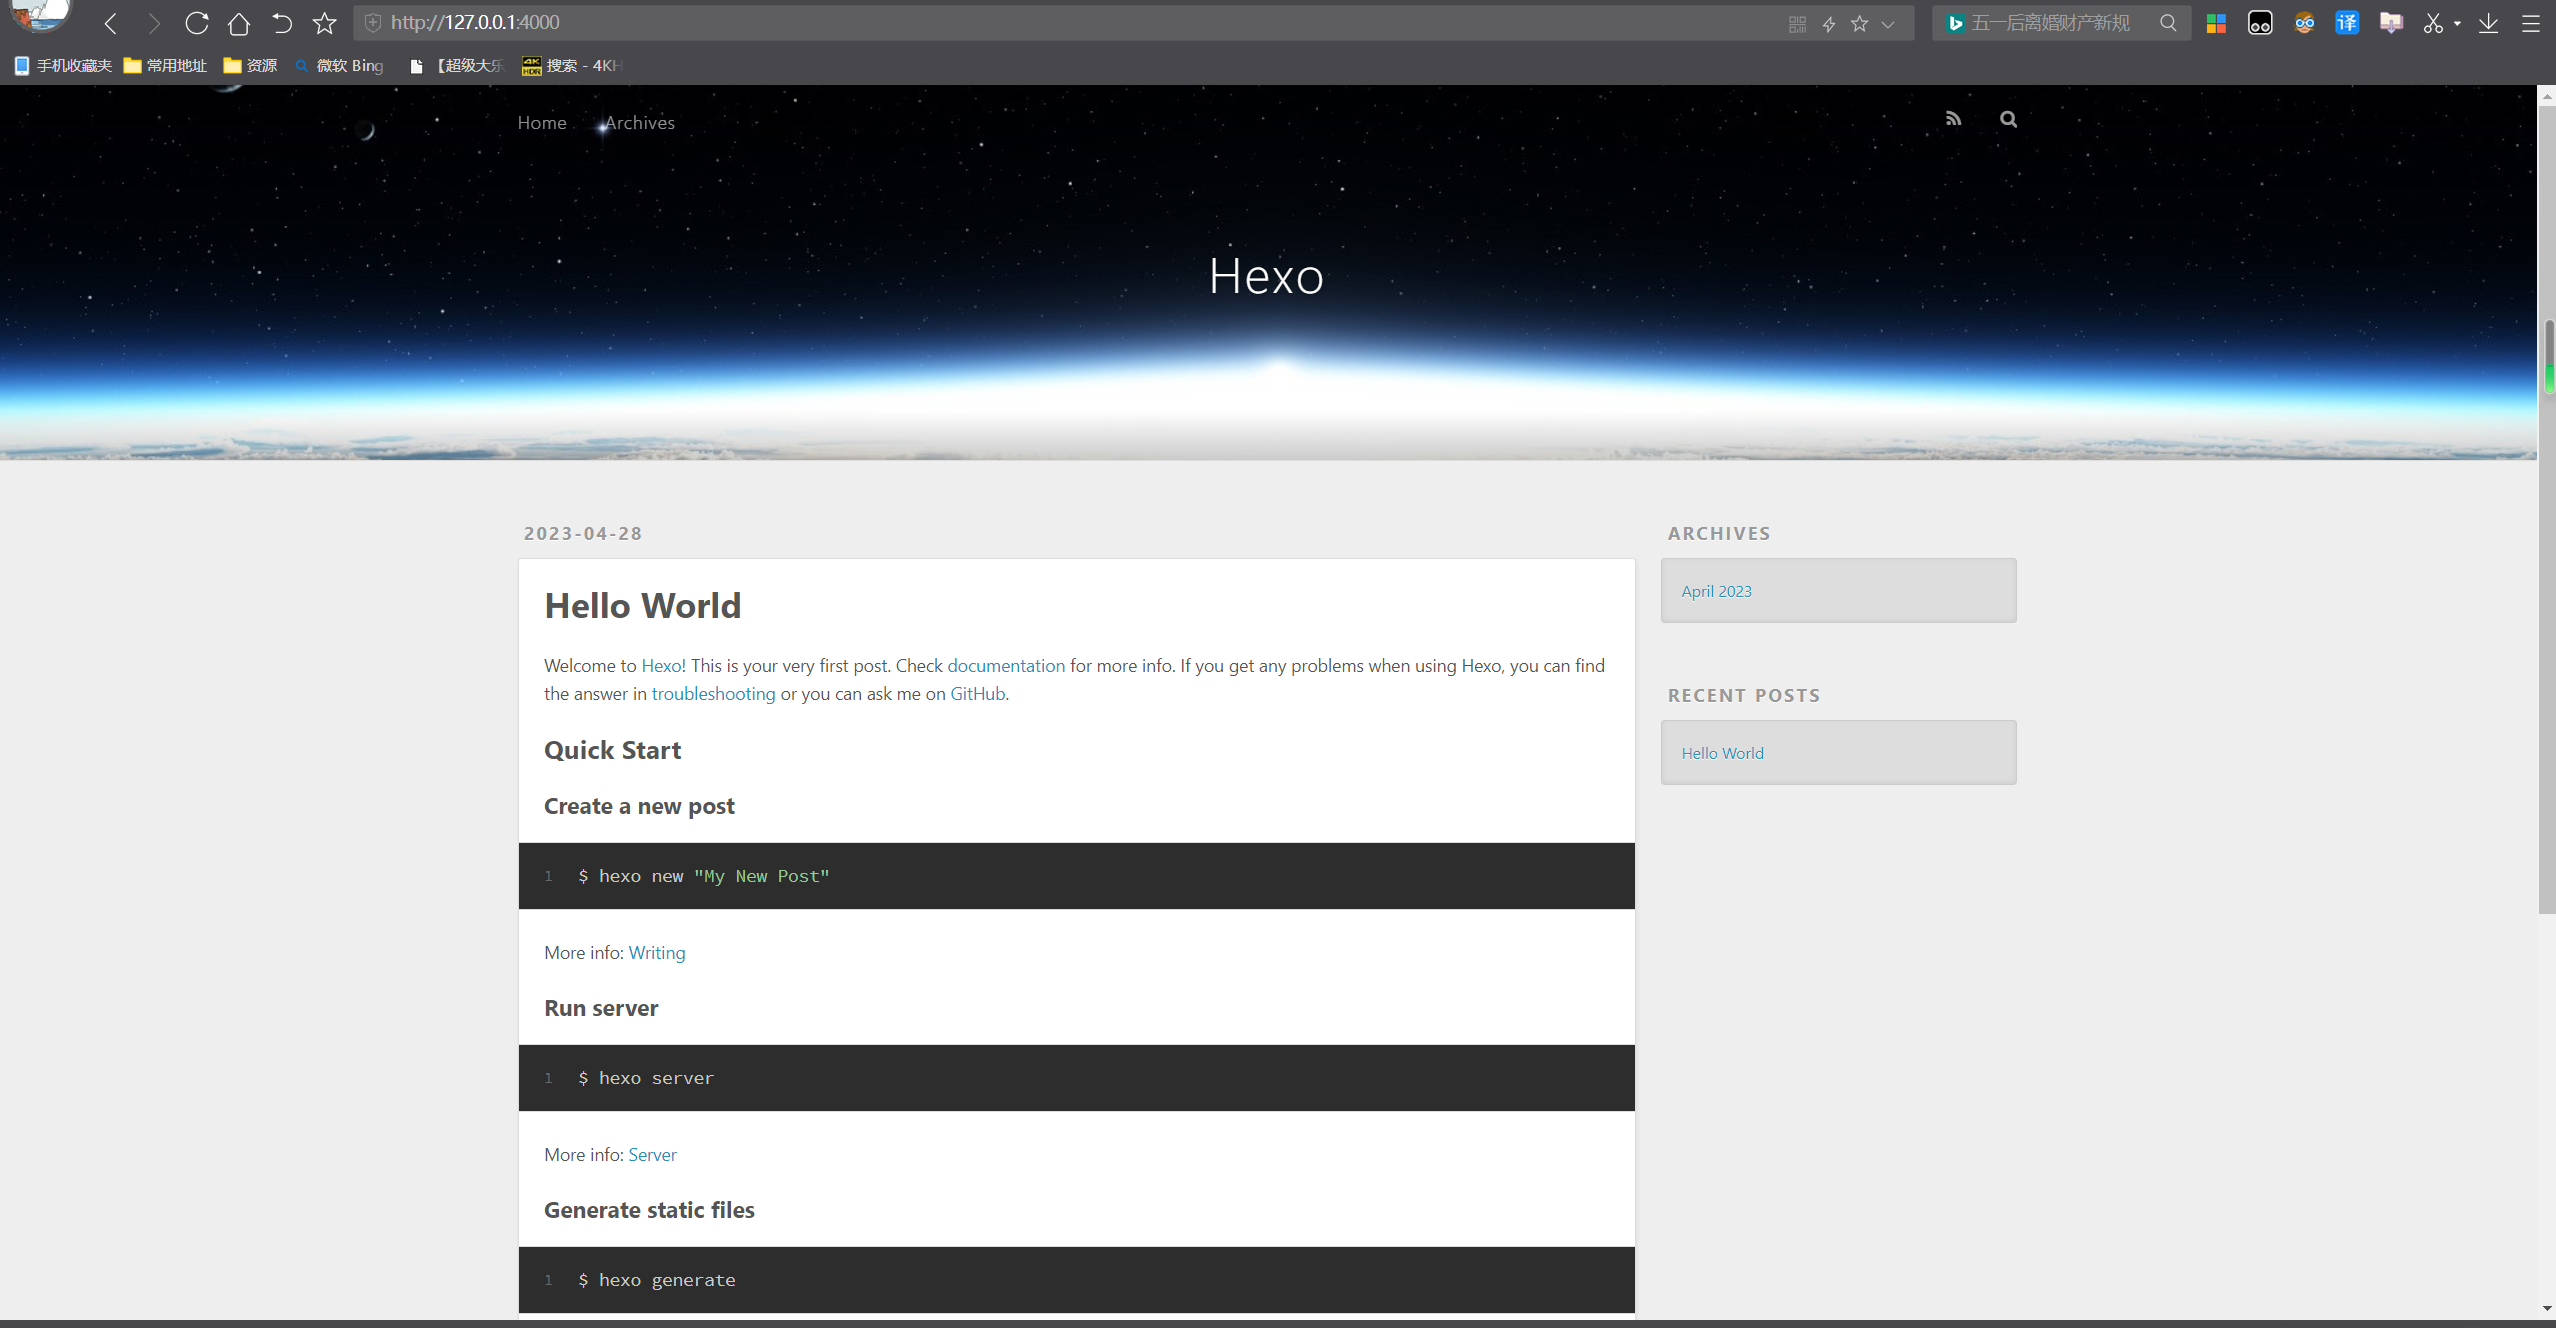
INFO Hexo is running at http://localhost:4000/ . Press Ctrl+C to stop.浏览器访问
http://localhost:4000
看到这个就说明hexo已经搭建成功了。
目录说明:
- node_modules: 依赖包
- public:存放生成的页面
- scaffolds:生成文章的一些模板
- source:用来存放你的文章
- themes:主题
3.安装next主题
在
themes所在的目录,打开git-bash1
git clone https://github.com/next-theme/hexo-theme-next themes/next
执行完成后,就可以在
themes目录中看到next编辑
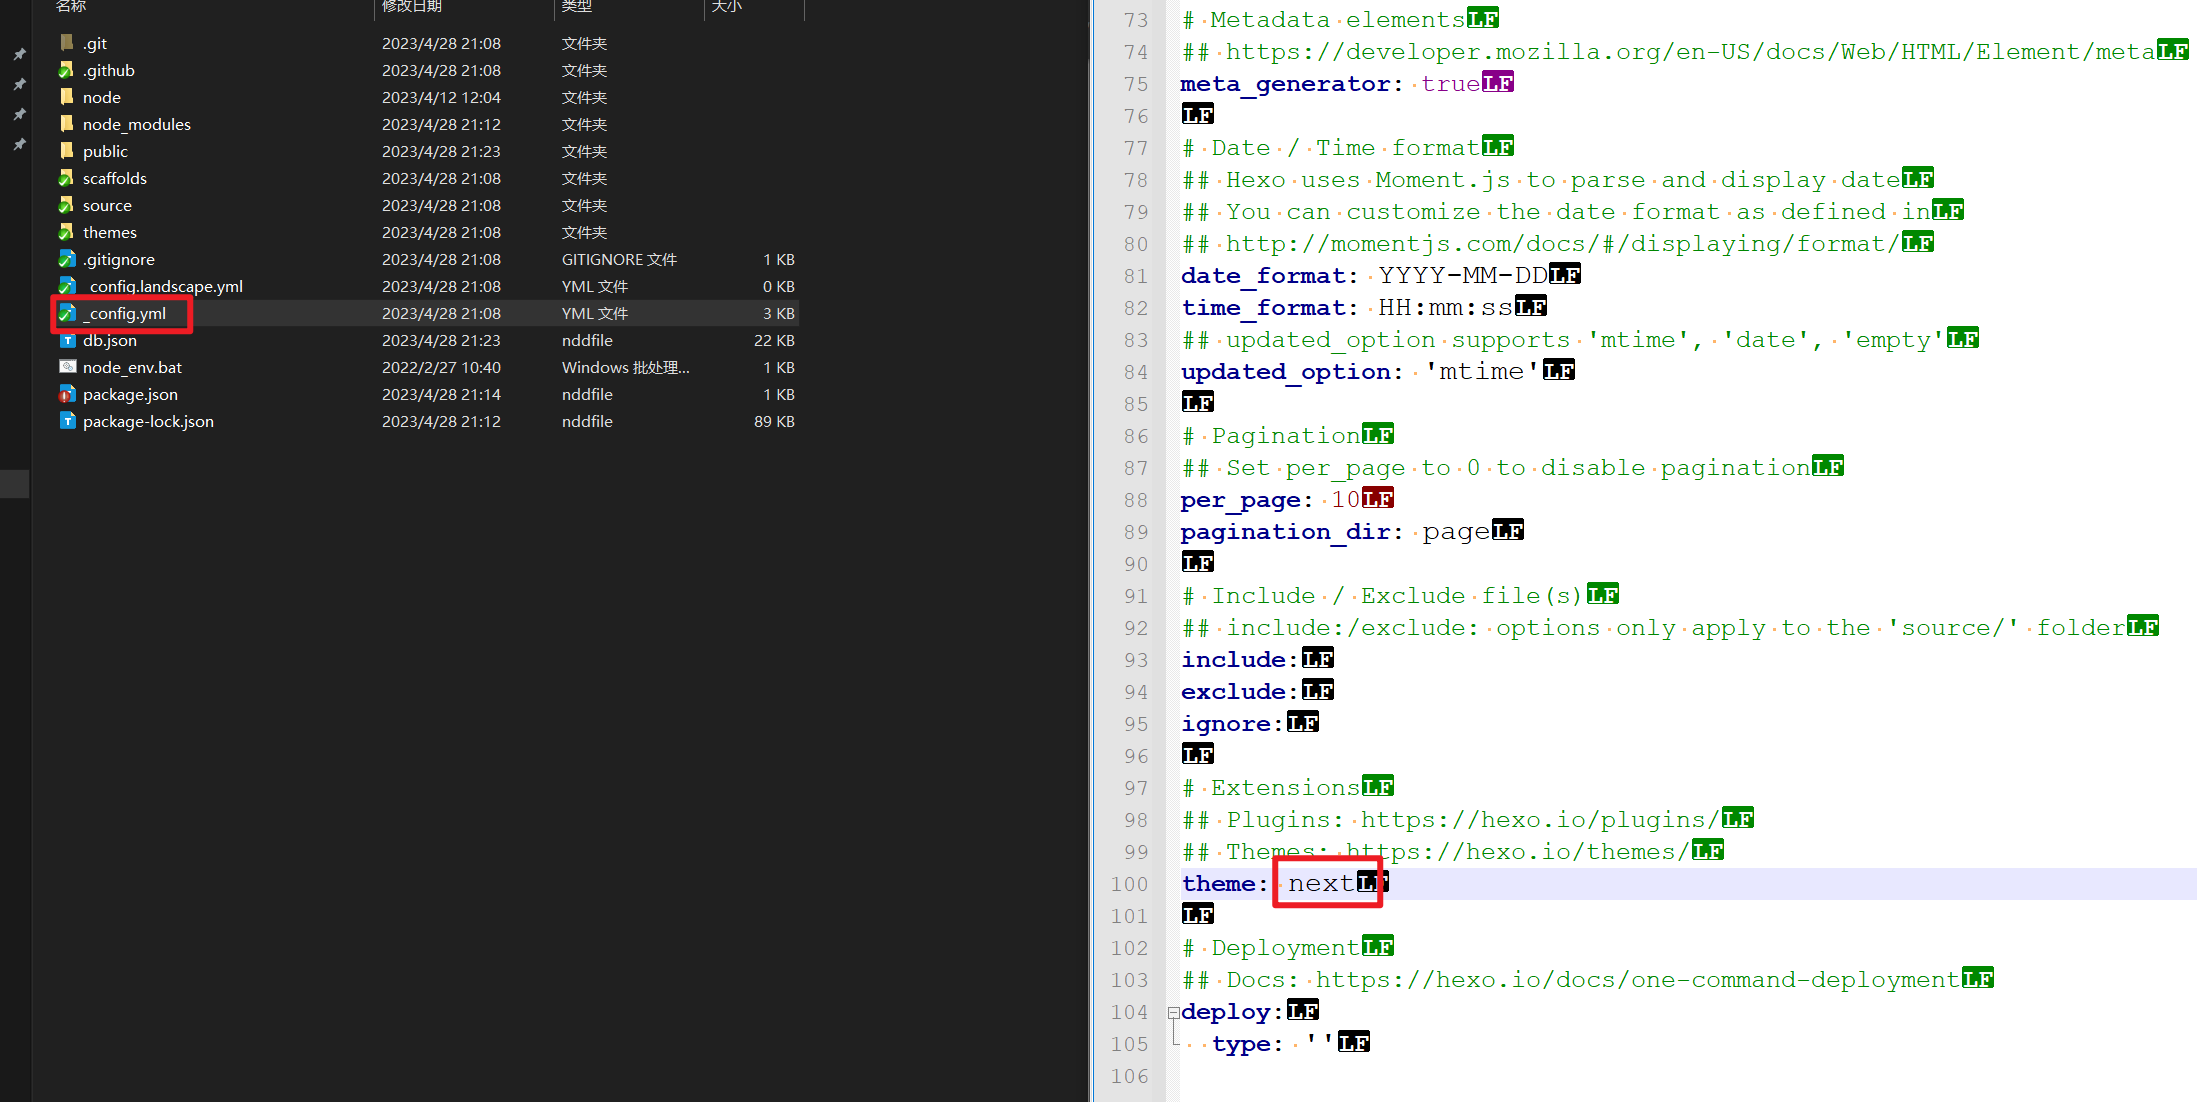
根目录里面的_config.yml,找到主题,并修改为next
再次执行
hexo s,浏览器访问http://localhost:4000查看,next主题已经生效了安装就到此结束了,然后就可以根据自己的需求去定制化页面了。
4.生成静态页面,并部署到服务器(手动)
生成静态页面
1
2
3
E:\git-code\hexo-starter (master -> origin)
λ hexo clean && hexo g
会在当前目录下生成一个
public目录,将这个目录上传到服务器上,通过http或者是nginx代理80端口即可。
5.自动部署
两种方式
使用
hexo d去发布,大概的步骤为:- 在服务端安装git,并创建远程仓库
- 本地修改
hexo的配置 - 后续执行
hexo d就直接提交到服务端的仓库了
服务端定时去
git pull,步骤为:- 仓库中再创建一个存放静态页面的仓库
hexo d配置到这个仓库上- 服务端在clone之后,定期的去pull