树莓派4刷openfans-debian
树莓派4B+安装debian
1.准备
软件:
debian镜像文件,这里选择的是OPENFANS定制的版本。2021-11-11-OPENFANS-Debian-Buster-Aarch64-ext4-v2021-2.0-U6-Release-plus++.img.xz
Win32DiskImager2.0.1.8.exe
硬件:
- 树莓派4B+
- TF卡8G以上
- TF读卡器
2.安装
2.1 写入镜像到TF卡中
先把下载的压缩包解压为
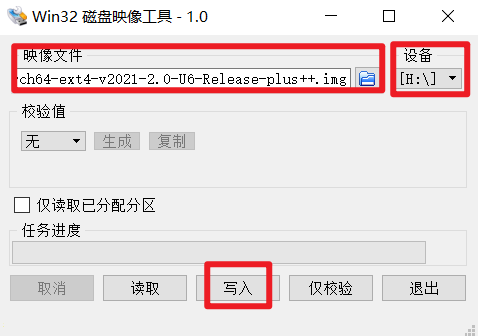
2021-11-11-OPENFANS-Debian-Buster-Aarch64-ext4-v2021-2.0-U6-Release-plus++.img打开Win32DiskImager2.0.1.8.exe

依次选择TF卡,选择镜像文件,点击写入
写入完成后关闭时软件,先修改一下网络配置(接屏幕和键盘的可以跳过)
1
2
3
4
5
6
7
8
9
10
11
12
13
14
15
16
17
18
19
20
21
22
23
24
25
26
27
28
29
30
31
32
33
34
35
36
37
38
39
40
41
42
43
44
45
46
47
48
49
50
51
52
53
54
55
56
按照自己的需求选择其中一个配置即可
无线配置说明
修改 /boot/wpa_supplicant.conf 文件
# To use this file, you should run command "systemctl disable network-manager" and reboot system. (Do not uncomment this line!) ##
country=CN
ctrl_interface=DIR=/var/run/wpa_supplicant GROUP=netdev
update_config=1
# WIFI 1 (Do not uncomment this line!) --这行不能删除
network={
ssid="your-wifi1-ssid" --无线WiFi的名称
psk="wifi1-password" -- 密码
priority=1 ---优先级,如果有多个
id_str="wifi-1"
}
# WIFI 2 (Do not uncomment this line!)
network={
ssid="your-wifi2-ssid"
psk="wifi2-password"
priority=2
id_str="wifi-2"
}
有线网络配置
修改 /boot/interfaces 文件
interfaces(5) file used by ifup(8) and ifdown(8)
Include files from /etc/network/interfaces.d:
source-directory /etc/network/interfaces.d
# Used dhcp ip address set eth0 inet to dhcp,
# or used static ip address set eth0 to static
# and change other ip settings.
# If you wanna let settings to take effect,
# uncomment symbol in front.
auto eth0 --这个要打开,表示自动启动网卡
allow-hotplug eth0
iface eth0 inet dhcp --静态动态任选一个,不能都设
iface eth0 inet static
address 10.1.100.5
netmask 255.255.255.0
gateway 10.1.100.1
dns-nameservers 8.8.8.8插入树莓派并通电
2.2 ssh连接树莓派

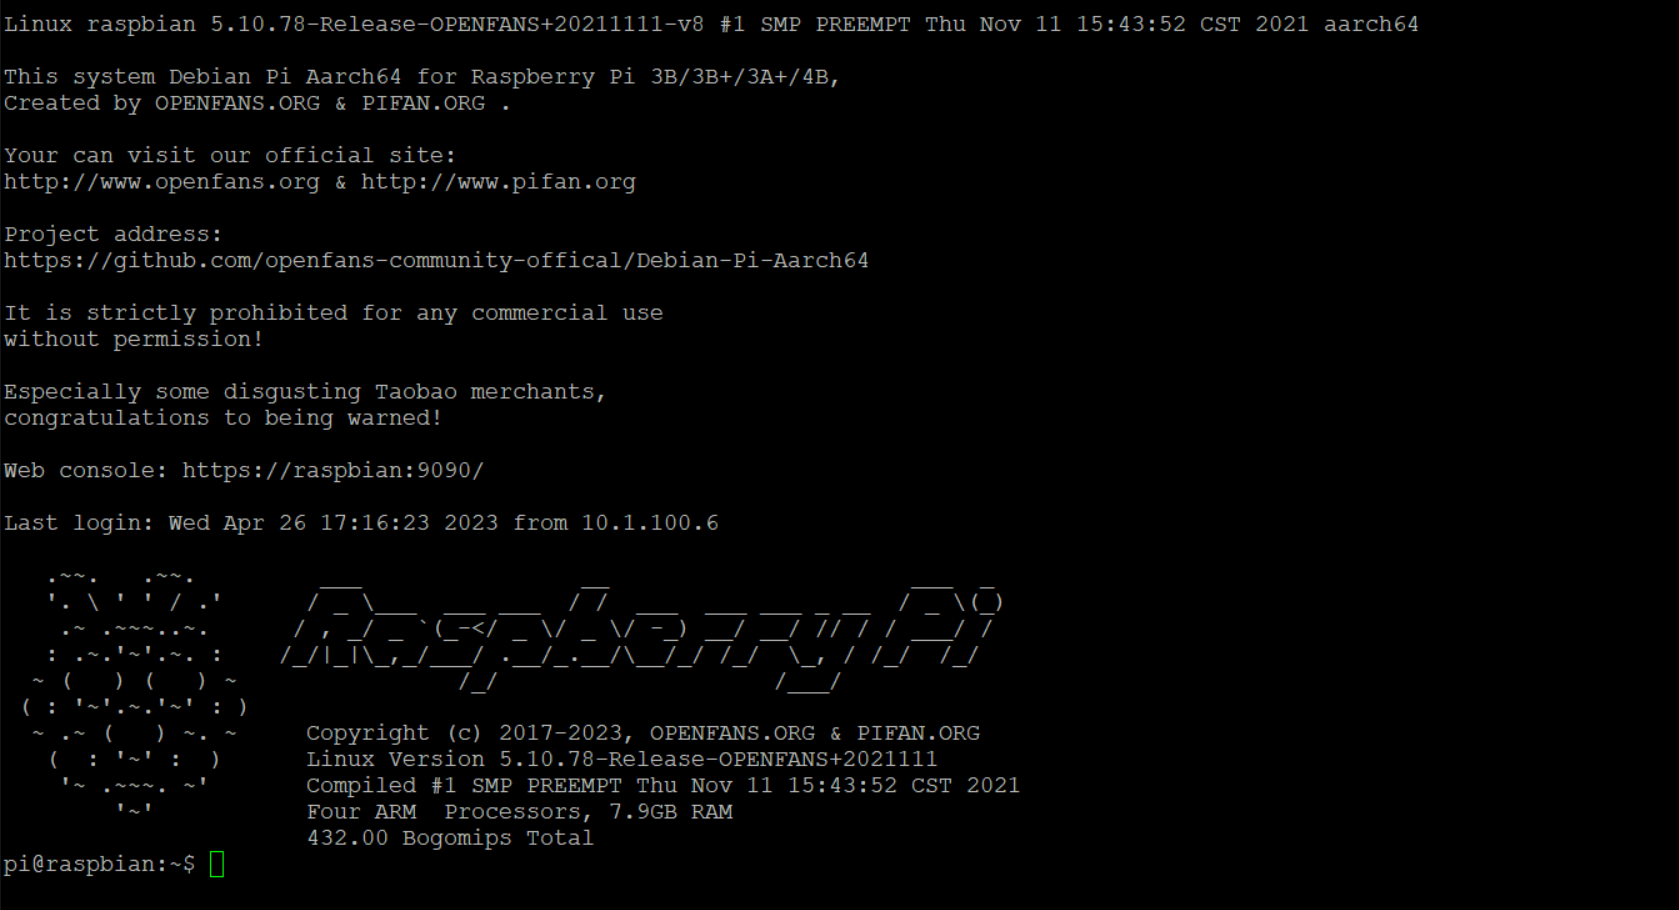
1 | 系统默认账户:pi ,默认密码:raspberry |
web登录的密码
1 | 1.Web可视化管理界面 |
2.3 默认启动设置
启用和运行Docker服务
1
2
3
4
5
6
7
8
9
10
11
12
13开机自动启动Docker服务
systemctl enable docker.service
启动Docker服务
systemctl start docker.service
#####
停止Docker服务
systemctl stop docker.service
禁止Docker服务开机启动
systemctl disable docker.service启用CecOS-CaaS容器云
1
2
3
4
5
6
7
8
9
10
11
12
13开机自动启动 CecOS CaaS容器云 服务
systemctl enable cecos-caas.service
启动 CecOS CaaS容器云 服务
systemctl start cecos-caas.service
#####
停止 CecOS CaaS容器云 服务
systemctl stop cecos-caas.service
禁止 CecOS CaaS容器云 服务开机启动
systemctl disable cecos-caas.service启用和退出Docker集群
1
2
3
4
5
6
7
8初始化并加入一个 Docker Swarm集群
docker swarm init
查看集群节点状态
docker node ls
退出Docker Swarm集群
docker swarm leave --force
3.其他
见OPENFANS的readme https://gitee.com/openfans-community/Debian-Pi-Aarch64